
Level transition animation
Summary: A short tutorial for animated level transitions with a simple shader to create a curtain closing and opening effect
Welcome back to another Gravity Ace devlog!
I’m back on the wagon after a bit of a hiatus. I started doing these last December then things fell apart in April and I switched to live streaming. But live streaming and short-form devlogs are really different mediums and I wanted to get back into this again. So, what better time than on the anniversary of my very first devlog.
Today I want to show you how I do level transitions in Gravity Ace. Here’s what they look like in the game.
If you watch that closely, you’ll see the curtains closing on the current scene, and then they open revealing the new scene. The scene switch happens just as the curtains close and cover the entire screen so you can’t see the switch. It works just like it does in a real theater: the curtains close, a bunch of people clear the stage, setup the next scene, then the curtains open again.
The technique I use is based on a simple shader. Why a shader? Using this code I was able to experiment with many different types “curtains” just by changing the texture I feed to the shader. And I can run the whole animation with a single static image and let the shader do the animating for me. That way I didn’t have to create a bunch of animation frames for each curtain. It saved me a lot of time and I think it looks pretty great.
Since the shader is so important, let’s start there. It’s tiny:
shader_type canvas_item;

uniform float cutoff;
uniform sampler2D transition_texture;
uniform vec4 color : hint_color;

void fragment() {
	vec4 c = texture(transition_texture, UV);
	vec4 screen = texture(SCREEN_TEXTURE, SCREEN_UV);

	if (c.r > cutoff) {
		COLOR = screen;
	} else {
		COLOR = color;
	}
}
The shader has a uniform called cutoff which I animate later, a transition_texture which I can fill in with the actual texture I want to use for the curtains, and a color which will become the color of the curtains (black, in my case). In the shader world a uniform is basically a variable that you can pass in to the shader.
What it does is takes the cutoff and compares it to the red channel in the texture for each pixel. If the red channel is greater than the cutoff, then just show whatever is on the screen (become transparent). Otherwise, show the color that was passed in. By animating the cutoff from 0 to 1 or 1 to 0, the shader automatically either shows black or becomes transparent. Darker areas in the texture will become black first and white areas will become black last as the cutoff goes from 0 to 1.
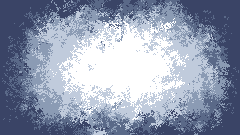
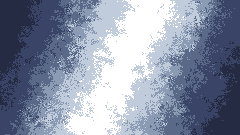
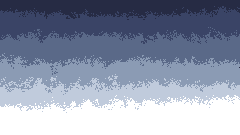
Here are some of the textures I experimented with for the transitions:
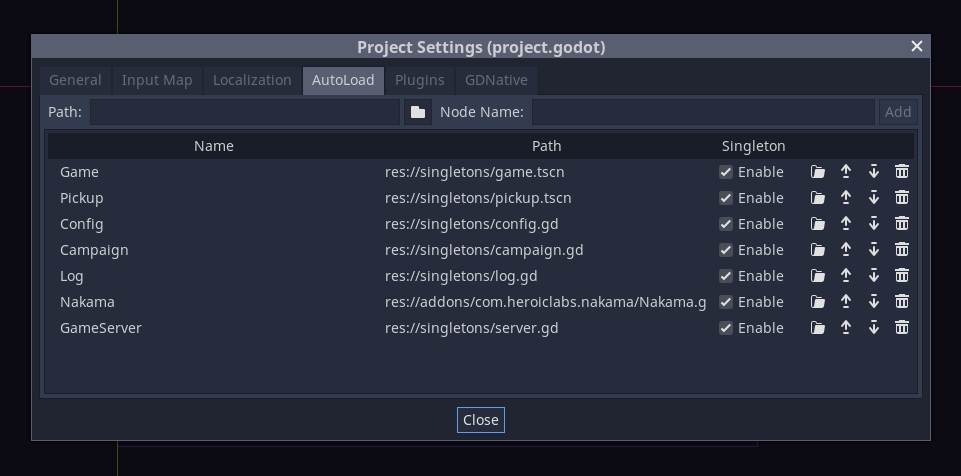
OK. On to the nodes and scene setup. I first created a scene called Game that I use as an AutoLoad (or singleton). AutoLoads are scripts or whole scenes that are loaded automatically by the game and you can reference them from any other script via a name that you give it. In this case, I have a Game scene that has a lot of helper functions including my level transition nodes and code.
And here is the node setup. There are a few crucial pieces here. First, the Game scene pause mode is set to Process. This ensures that even when the game is paused, the Game scene and its children will continue running and processing events.
Next, the transition node is a CanvasLayer. That’s important because CanvasLayer nodes always display in the active camera. And I set the Layer of the node high enough so that it will always cover everything else in the game.
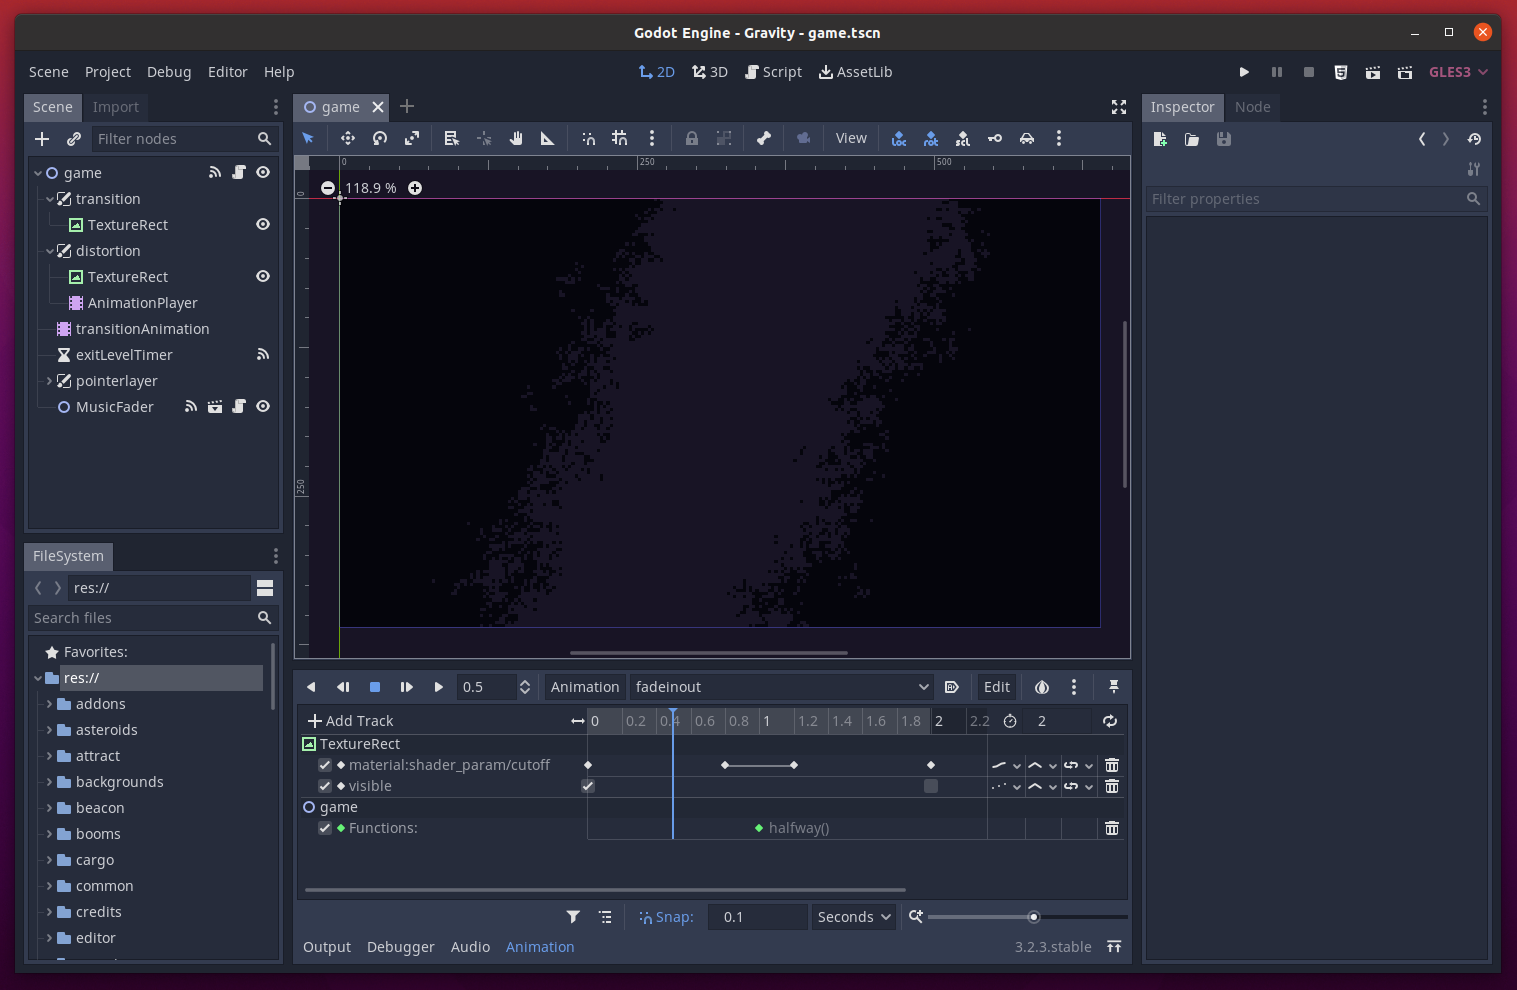
Next, there’s the transitionAnimation node which is an AnimationPlayer. You can see the animation player timeline at the bottom of the screen. It has a single animation called “fadeinout” which runs the curtain animation itself. You can see from the timeline that the animation has two halves. In the first half, it animates the cutoff variable from 0 to 1. In the second half it animates from 1 back down to 0. And exactly at the halfway point it calls a method called halfway(). That method’s only job is to emit a signal called transition_halfway.
So how do I use it? From anywhere in the game, I just call Game.transition(scene) where scene is the scene file I want to switch to. That method pauses the game, starts the animation playing, then waits until the halfway point is reached by yielding until the halfway signal is emitted. At exactly that point, when the curtains are fully closed, it changes the scene and unpauses the game. The curtains continue opening and we’re in the new scene after a slick curtain animation.
func transition(to = null):
	get_tree().paused = true
	$transitionAnimation.stop(true)
	$transitionAnimation.play('fadeinout')
	if to:
		yield(Game, 'transition_halfway')
		# warning-ignore:return_value_discarded
		get_tree().change_scene(to)
	get_tree().paused = false


# Called by fadeinout animation at halfway point
func halfway():
	emit_signal("transition_halfway")
And that’s it! Just a few lines of code and a simple node setup and we have a pretty slick looking visual to accompany scene transitions. And I can change the entire feel of the transition by just changing a single texture.
So it’s December 2020 and I would love it if you would give me an early Christmas present and subscribed to the channel. I’m at 917 subscribers and it would be awesome if you could help me reach 1,000 by Christmas.
I hope this video has been helpful to you. Please ask questions in the comments or come join my Discord server or Twitch livestreams for more in depth discussions. All the links are on gravityace.com. Thanks for watching everybody. See you next time!
Published December 9, 2020